CGS30 BPFs built up with acrylic panels
Here’s some pictures of my silly band pass filters. Nice crockery, etc.

The panel is laser cut from 3mm white acrylic by Razorlab through Ponoko, and they came out really well. They were ordered late on a Tuesday night – the confirmation email said that it would take up to 28 days (boooo) – but they were made up and dispatched by Wednesday lunchtime, and arrived on Thursday morning (hooray!).
I designed them in a bit of a hurry to try and get in on one of their offers, so I missed out the plus and the minus on the resonance pot, and for some reason the level pot is a bit further away from the resonance pot than it should be, but these are all my mistakes. I used the Pro-Modular templates for the panel outlines, and this incredibly useful scale generator for the lines around the pots.It worked out at about £27 (including a 20% discount) for 3 x 8HP panels and 4 x 4HP panels, so the 4HP panel above cost about £2.70. If I’d been a bit cleverer about organising the panels on the sheet to minimise the amount of cutting it should have worked out a bit cheaper.
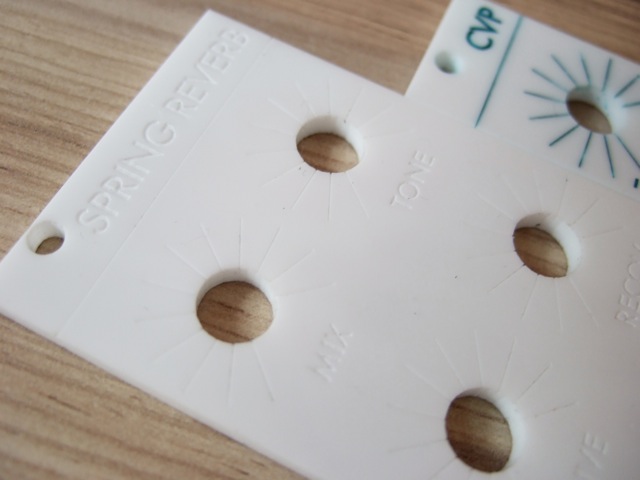
The legends are also laser engraved, and I used some of my wife’s old acrylic paints from the shed to infill the text, with isopropyl alcohol for cleaning off the excess. No complaints about the quality of the engraving from Razorlab, it all looks super sharp.
On the Polivoks filter I built a while back I lost all patience with the shitting thing and just decided to stuff a load of Blutack on it to fix the board to the front panel, but I made a bit more of an effort this time.
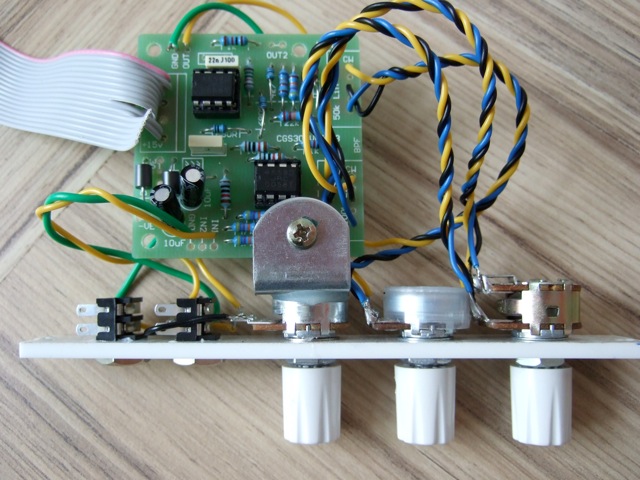
Well, I used Araldite instead of Blutack, at least. I’d read around a bit now, and everyone says you really need to use (more expensive) 9mm pots for 4HP panels so you have enough room to attach the pots directly to the PCB. But I didn’t know that, so I stumbled along with 16mm Alpha-ish pots anyway, and it’s worked out… acceptably.
It does need two brackets really, ‘cos it’s a touch wobbly. Before I realised there was no room for pots threaded through a bracket, I tried to fashion one out of an aluminium L-channel using a random deadly looking power tool and was lucky to come away with all fingers attached.
I’m using some hard-to-find 100kC dual reverse log pots to try and get closer to the original response, which specified the same. This might sound ridiculously anal – alright, even more so – but with linear pots on my stripboard versions of this circuit I was finding that most of the action was crammed into the final travel of the pot. I say they’re hard to find but there’s someone in China selling them in batches of 3 on eBay.
I messed up on one of the boards, putting 100nF capacitors in instead of the specified 22nF, and it made it sound generally shitter: lowering the frequency range and made it less sharp. Which makes me wonder if those capacitors were a bit less than 22nF (15? 18?) what that might do to the sound. I’d recommend if you’re going to build these you will want to knock the 4.7k resistor on the other side of the resonance pot down to 470R or something. I used 680R on mine, wish I’d taken it a touch lower.
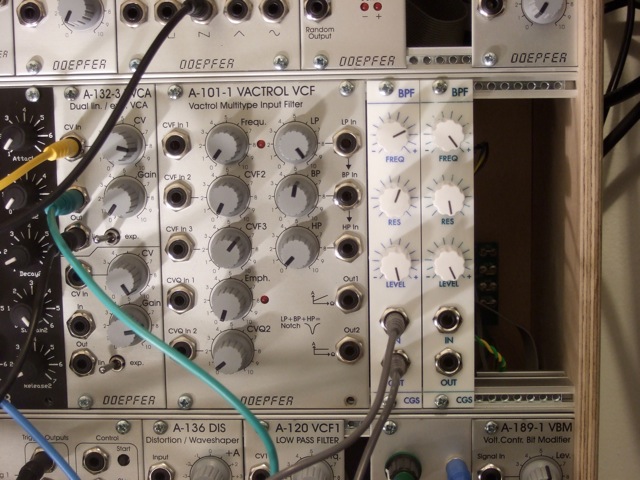
Next time I’d make the screw holes more of a slot so I could close up the gaps, but apart from that I’m pretty happy with them. Sweeping the frequency of the two filters by hand sounds great, but I’d still like fix them up with CV control. It’s nice to get something built up with an actual front panel for a change.
1 comment